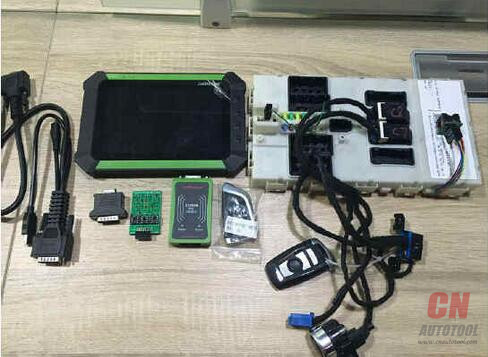
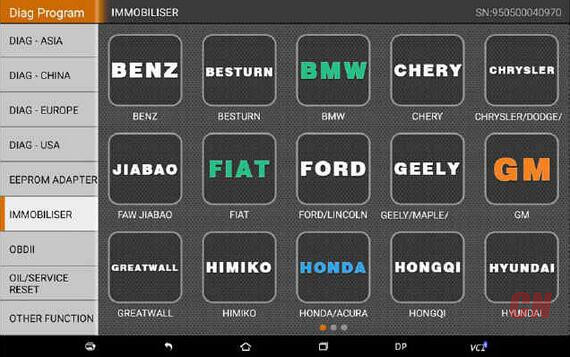
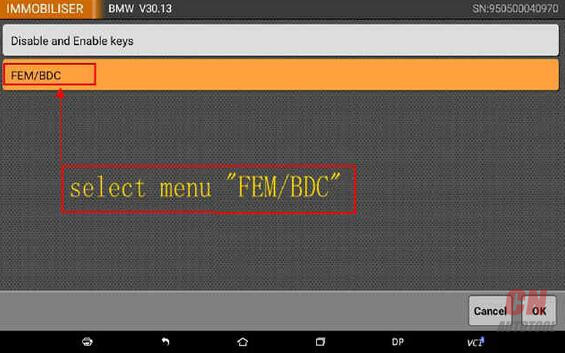
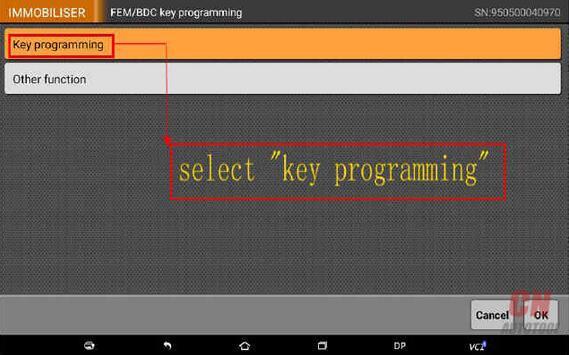
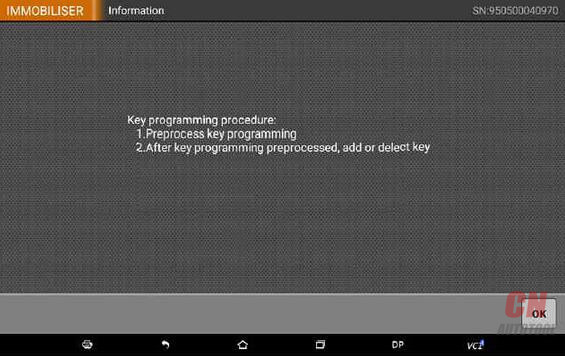
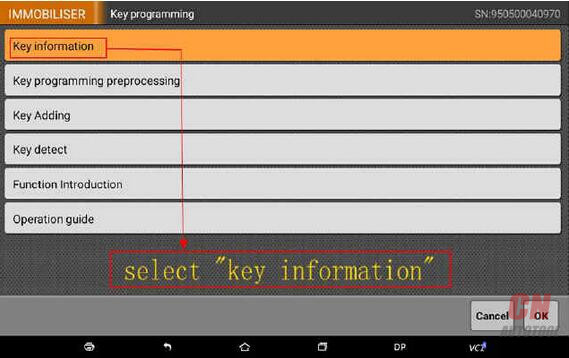
Most of the latest BMW vehicles adopt FEM/BDC modules, which must be programmed before the key programming. OBDSTAR X300 DP already updated the BMW FEM/BDC key programming software. To make the operation clear, let’s show the FEM smart key programming process with Key Mater DP as below:
Prepare
To get a better understanding of BMW key programming, following three major steps and some tools will be explained first.
1.Key Information
2.Key Programming Preprocessing
3.Key Add/Delete
Before key programming, read key information of current vehicle. Then delete the lost key or add new key based on this information.
For these vehicles to be programmed for the first time with this kind of device, Key Programming Preprocessing is necessary before key adding and deleting. Key programming Preprocessing can be operated in the car or on workbench, while operating with specialized test cable on workbench is strongly recommended. FEM test cable is shown below:1
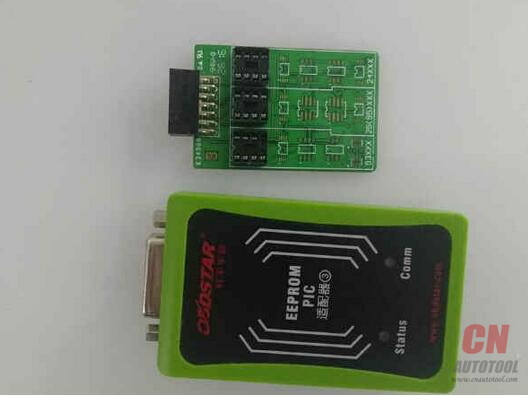
To read and write data on chip of FEM/BDC, it’s necessary to prepare and EEPROM. EEPROM/PIC picture is shown below:
Stpe1: Key Information Reading
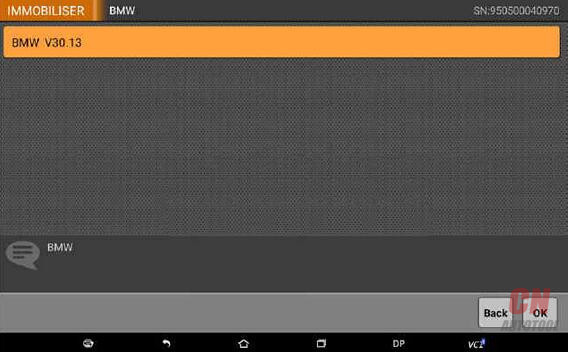
After connecting vehicle or test harness, select “Key Information” under BMW Immobilizer menu to read current key information:
Notice: It will remind you to operate preprocessing in this step. If the vehicle was programmed for the first time, it’s necessary to operate key programming preprocessing. If not, operate Key Add or Key Delete directly.
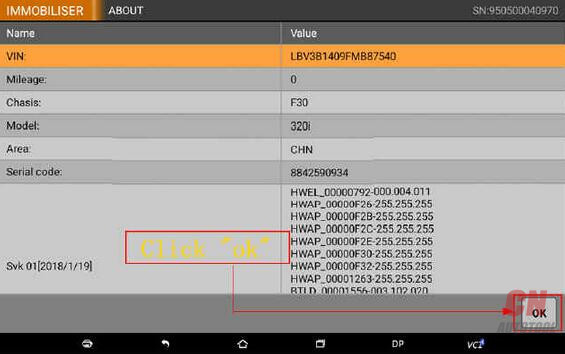
This is showing FEM module information. Click ”OK” to continue.
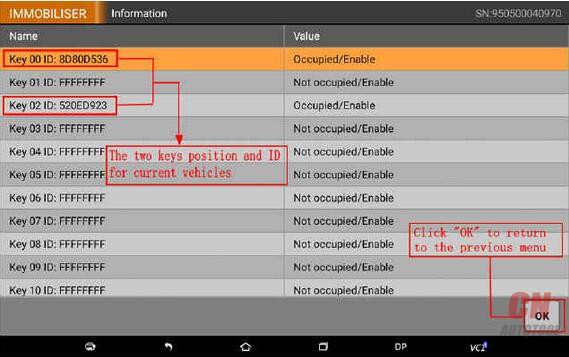
This is showing current key numbers, position, and ID. Based on demand, delete lost key and add new key in the position of Not Occupied/Starting during key programming.
Stpe2: Key Programming Preprocessing
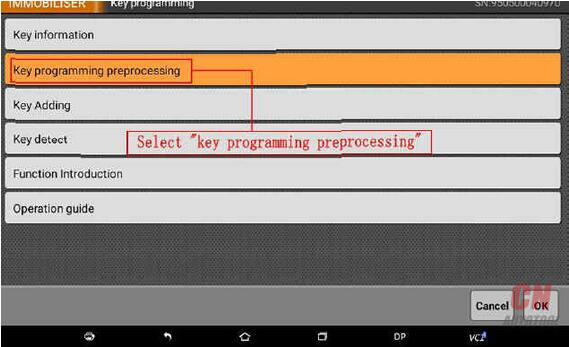
It’s required to operate key programming preprocessing if the vehicle was programmed with the device for the first time. After reading key information, click “OK” back to main menu and select “Key Programming Preprocessing”:
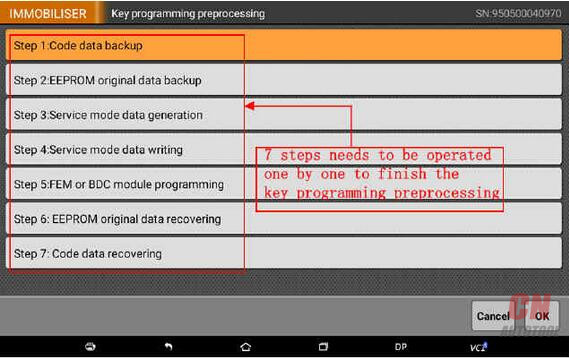
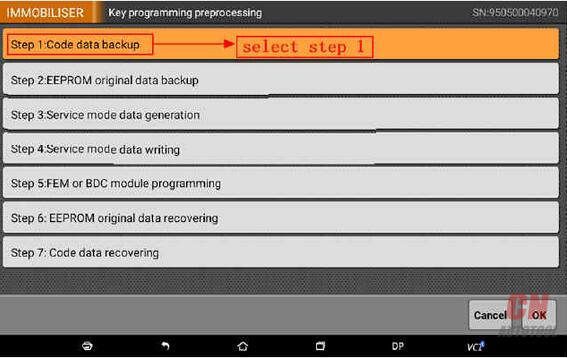
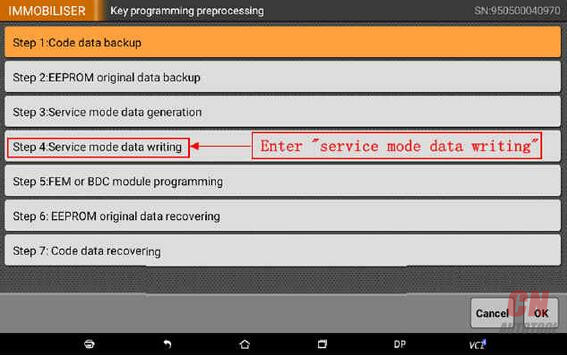
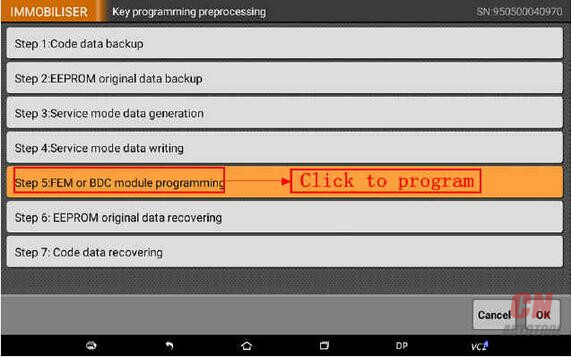
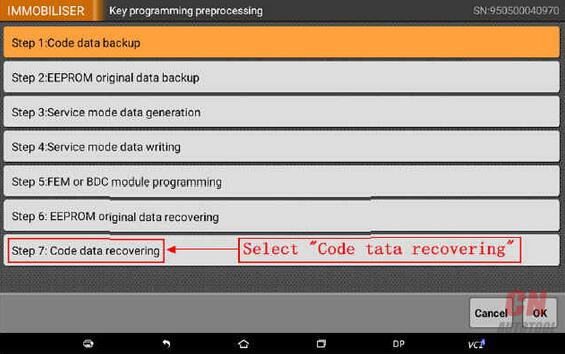
There are seven steps in processing. Start from the first step:
Step 1: Code data backup
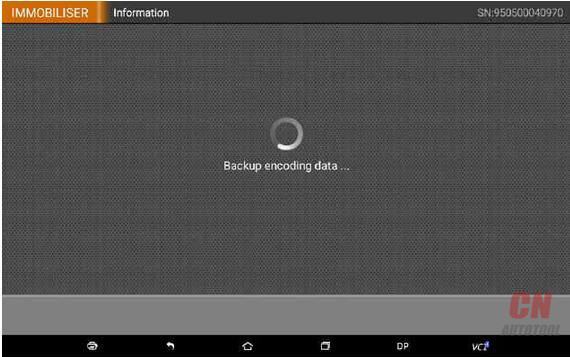
Select and click “Code data backup”
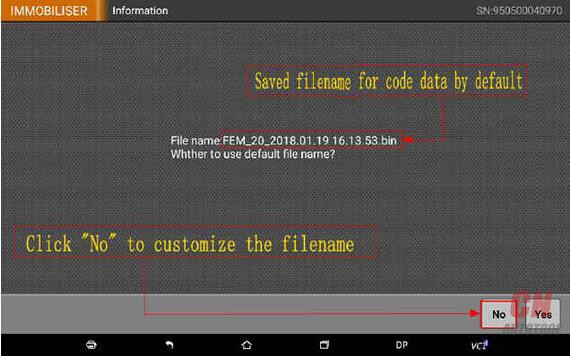
Read the code data and click “yes” to save it with the filename by default. Or click “no” to customize filename and remember it (the filename will be helpful in step7)
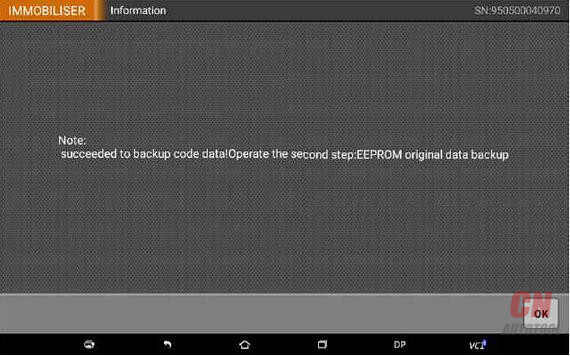
Code data backup completed.
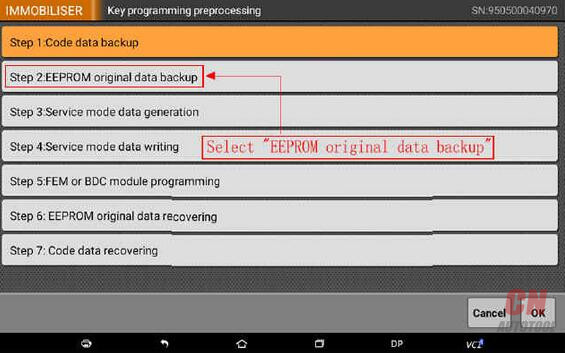
Step2: EEPROM Original Data Backup
Select “EEPROM original data backup”
During the step2, the screen will show a simple operation instruction. The operation process differs from the user’s programmer, here we take Key Master DP and EEPROM/PIC adapter for example. Shown as below:
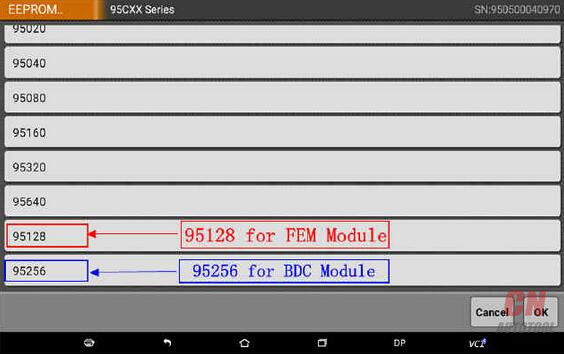
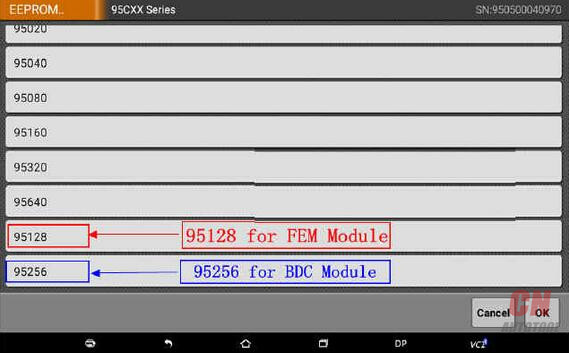
Disassemble the FEM/BDC module from car or test cable, open the shell and weld the 95128/95256 chip and take it out.
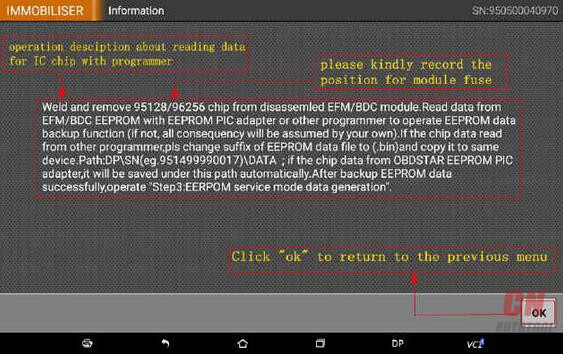
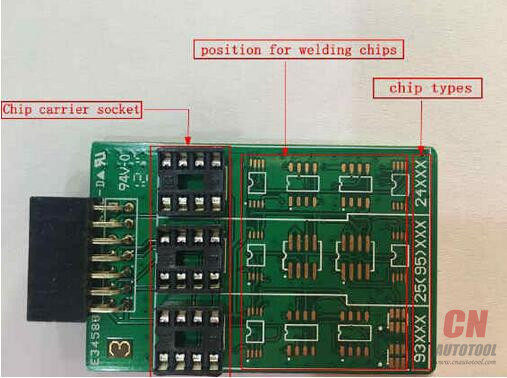
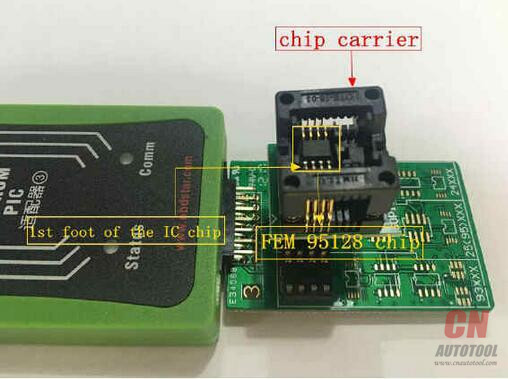
Weld the 95128/95256 chip to the 95XXX position on the adapter board or insert to the chip holder with the chip clip, (pay attention to the direction of the chip) as following:
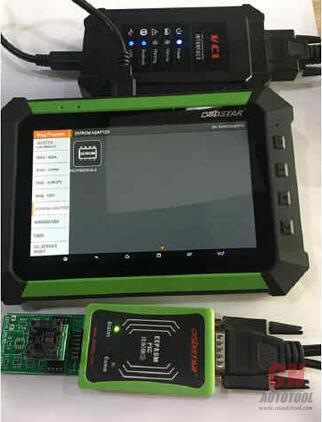
Then, connect the EEPROM adapter with Key Master DP, plug in the 12V power, shows as below:
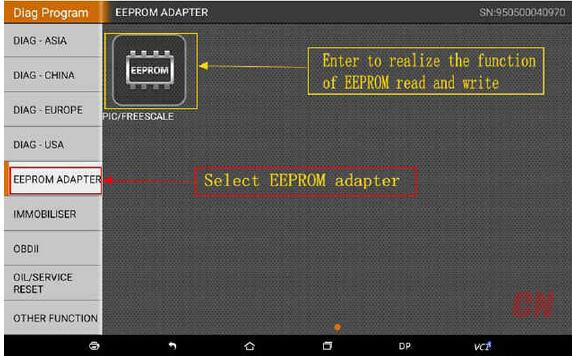
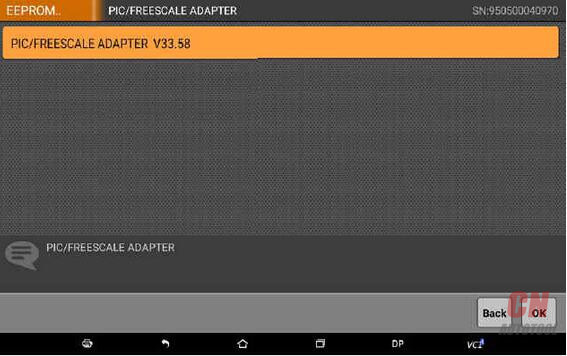
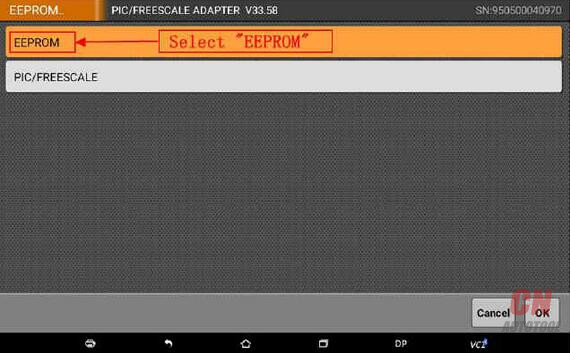
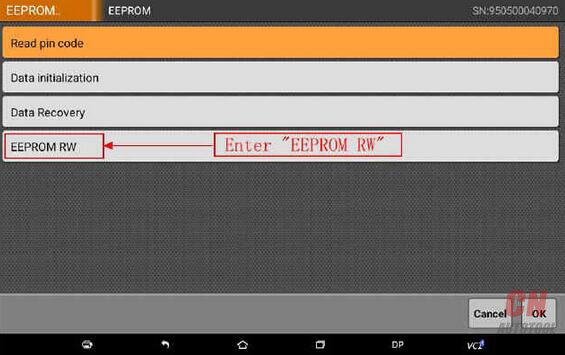
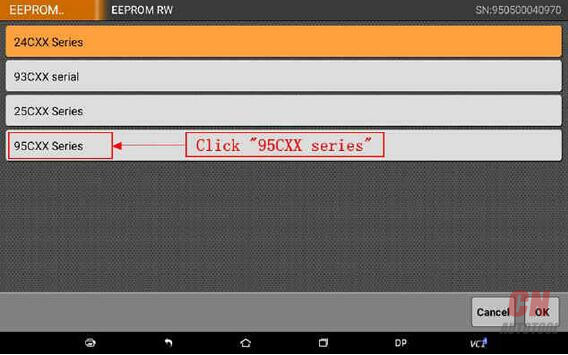
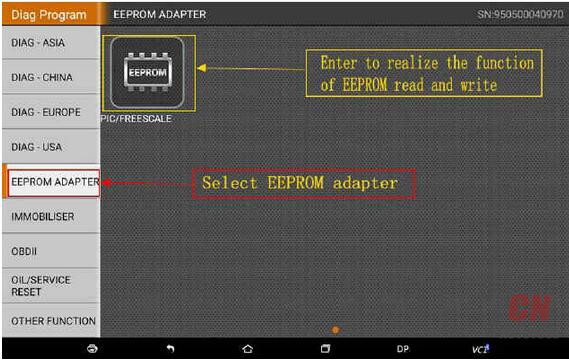
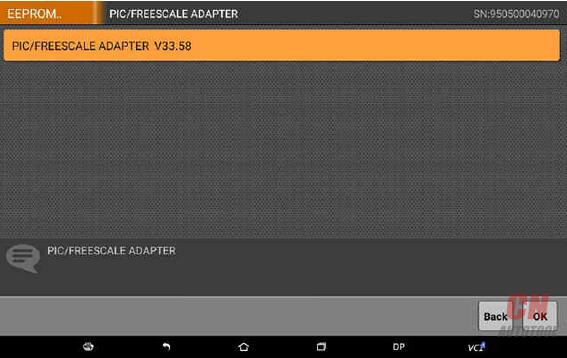
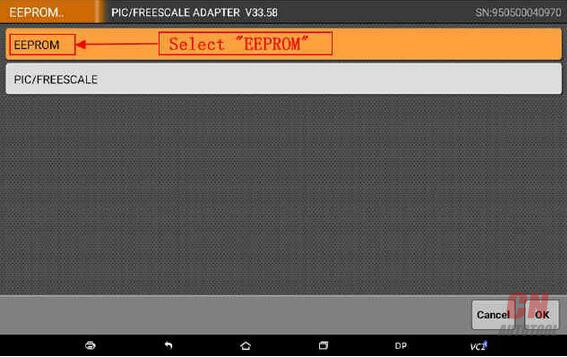
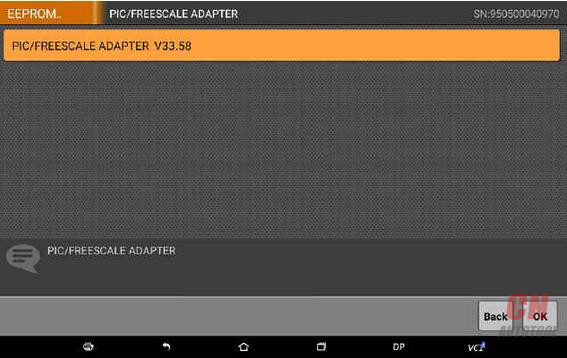
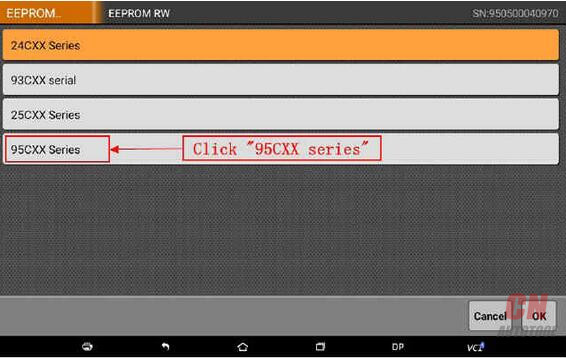
Exit immobilizer function and go back to the main screen, then choose “EEPROM/PIC adapter”:
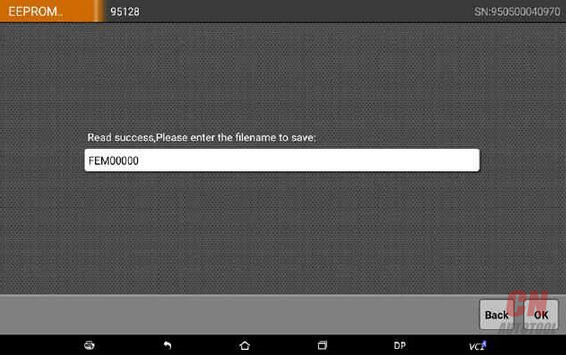
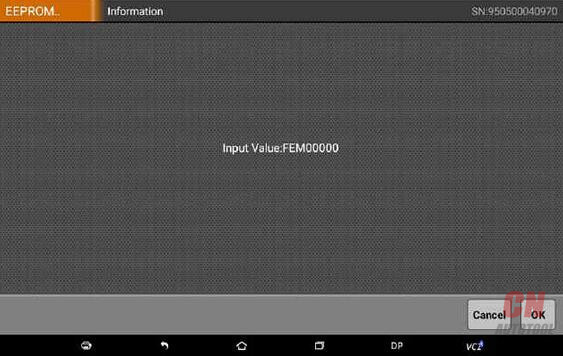
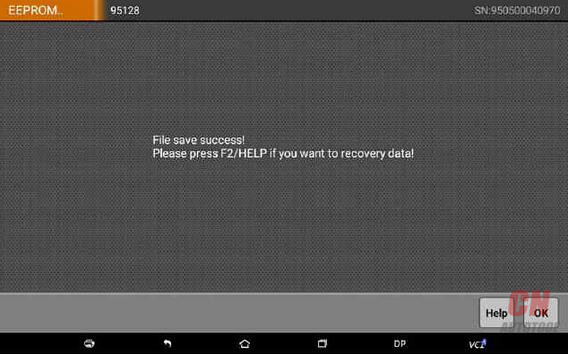
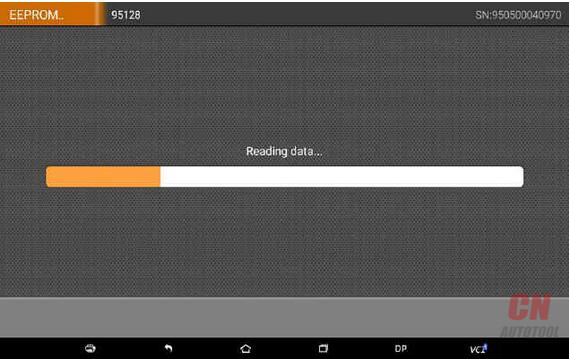
Notice: The original EEPROM data backup completed and saved with the name“FEM00000”. Disassemble 95128/95256 chip from adapter board and weld back to FEM/BDC module.
Step3: Service Mode Data Generation
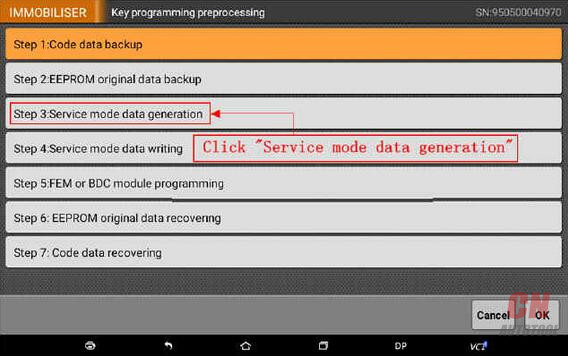
Put FEM/BDC module back to car or connect with the test cable. Exit the “EEPROM/PIC adapter” function, enter Immobilizer and choose BMW vehicles, click “step 3: service mode data generation”:
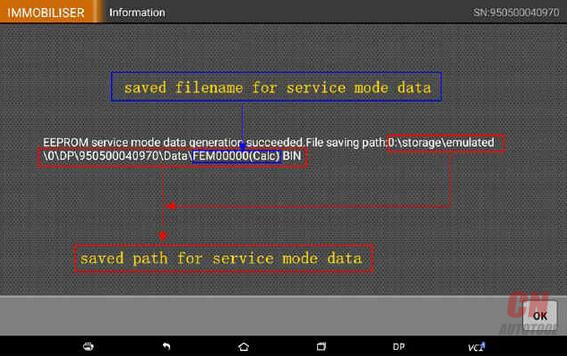
Service mode data generation succeeded and saved directly on the Key Master DP, as the picture shows above. Click “ok” to go back to the last menu.
Stpe4: Service Mode Data Writing
Click “step 4: service mode data writing”:
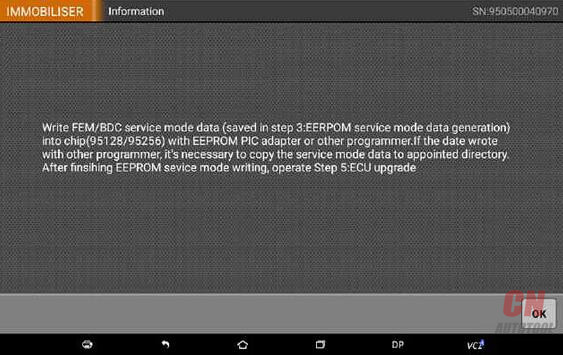
This step needs the EEPROM/PIC adapter or other programmer to read and write 95128/95256 chip. If you use other programmer to write service mode data, you need to copy the generated service mode data from Key Master DP and reserve it on the programmer or PC computer, then write the data.
Write service mode data with EEPROM/PIC adapter as follow:
① Disassemble 95128/95256 chip again, weld it to the adapter, connect with the Key Master DP.
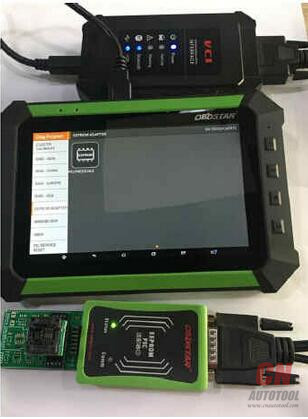
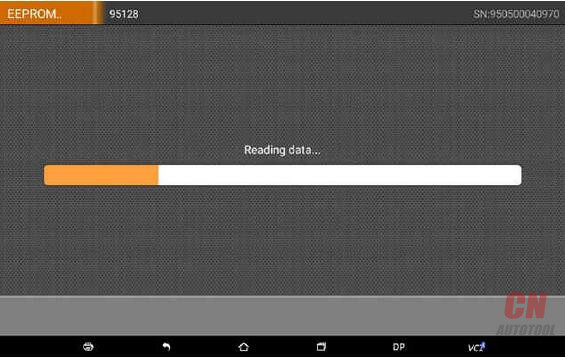
② Exit BMW Immobilizer, go back to the main menu, choose the EEPROM/PIC adapter.
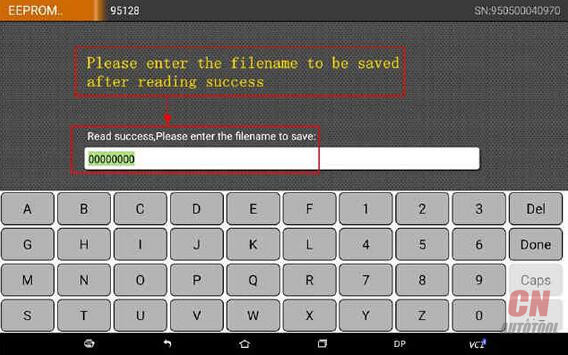
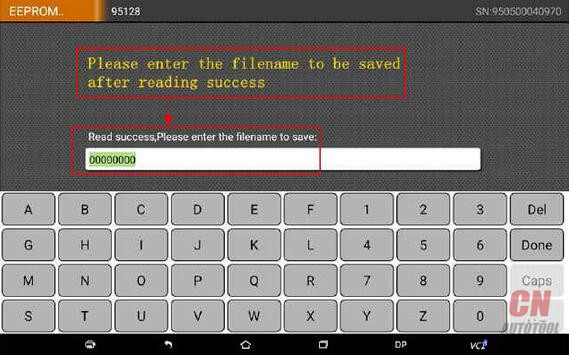
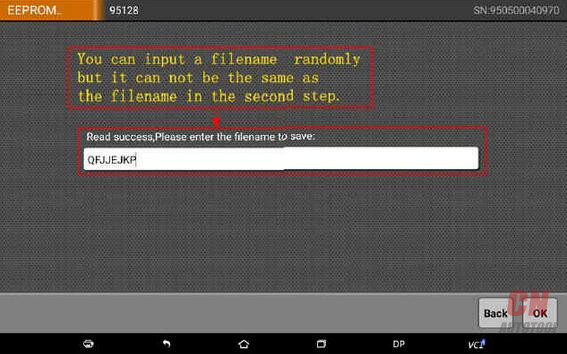
Input a filename randomly, a different name from the backup EEPROM data in step 2.
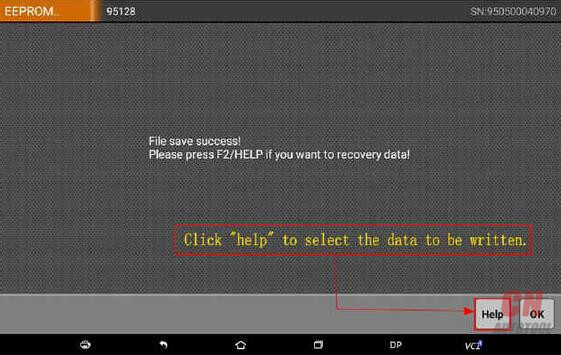
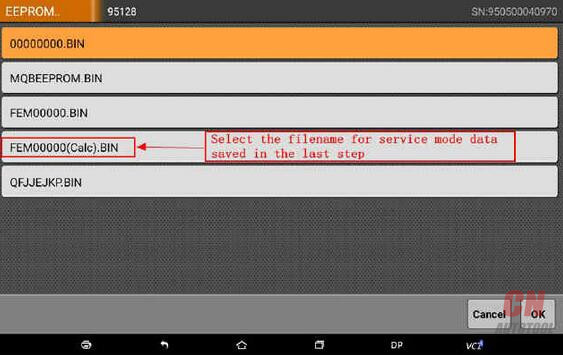
Do not exit after the profile reserved. Click “Help” and choose the service mode data “FEM00000(Calc)”.
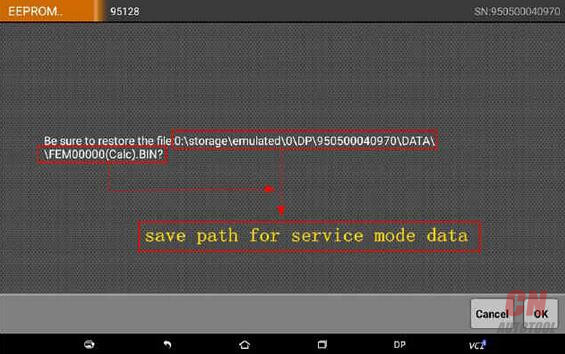
Make sure again the written data is right. If you use other programmer, please copy the service mode data “FEM00000(Calc)”from the position shown in the picture.
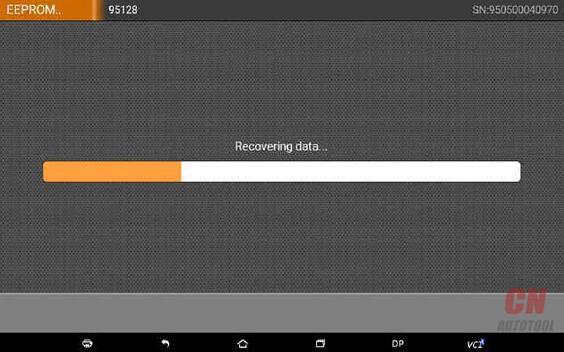
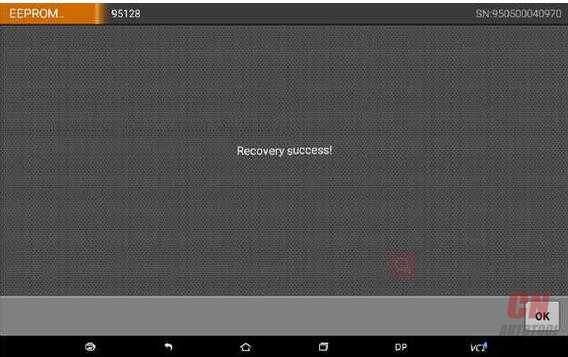
Service mode data recover completed. Click “ok” to go back to the last menu and exit EEPROM/PIC adapter function.
Step5: FEM or BDC module programming
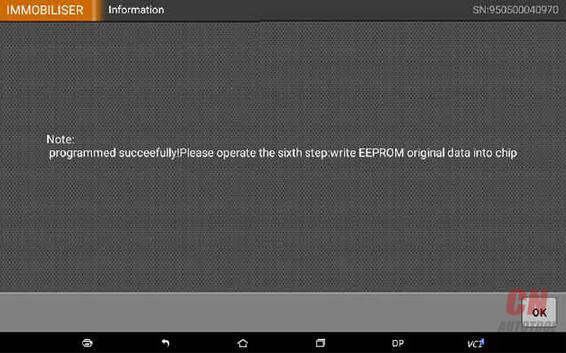
Weld the 95128/95256 chip back to FEM/BDC module, put the module back to car or connect to the test cable, connect the Key Master DP with car or the OBDII for test cable. Exit EEPROM/PIC adapter function, enter key add pre menu, choose “step 5: program FEM/BDC module”.
After the program completed, click “ok” to go back to the last menu.
Step6: EEPROM Original Data Recovering
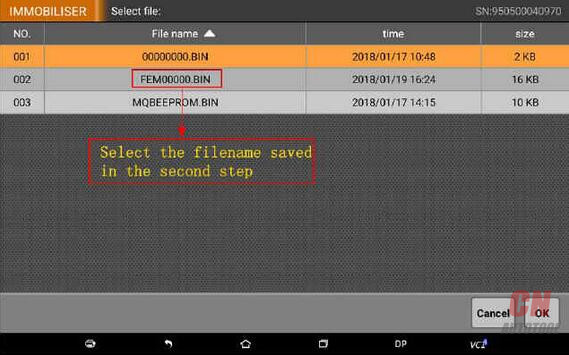
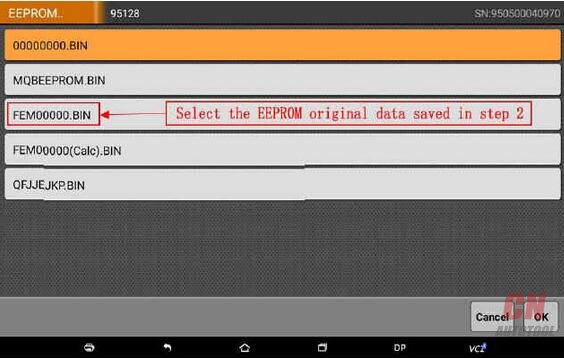
The procedures for EEPROM data recovering is the same as the service mode data writing. The only difference is the different writing data. Select the EERPOM original data saved in the step2. Operate according to the service mode writing, the data selected is as following:
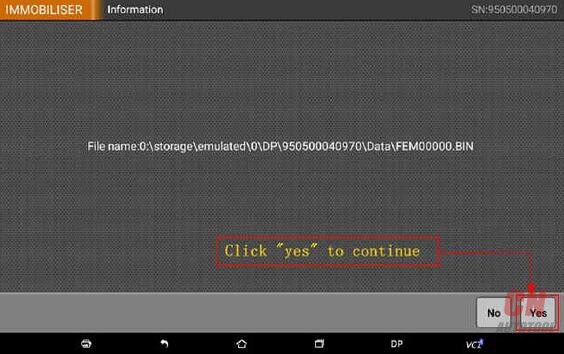
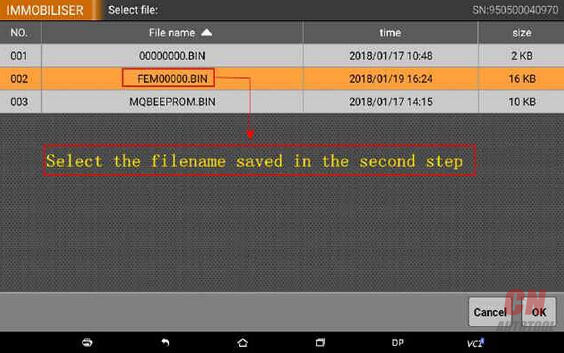
After read the saved data, then click “help” and choose the saved EEPROM original data “FEM00000.BIN”.
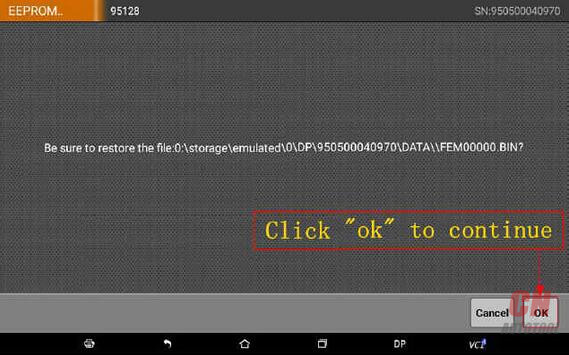
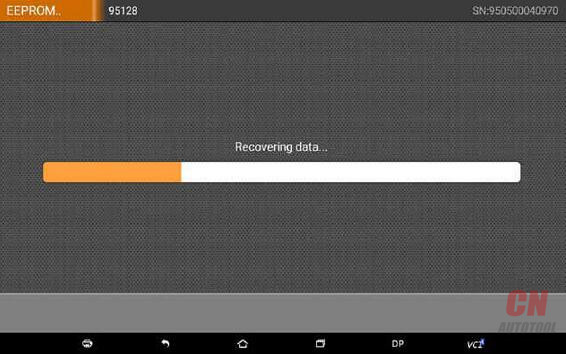
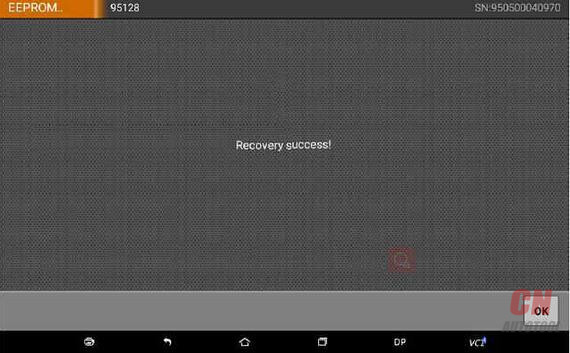
EEPROM original data recovery completed. Click “ok”, exit EEPROM/PIC adapter function and weld the 95128/95256 chip back to the FEM/BDC module.
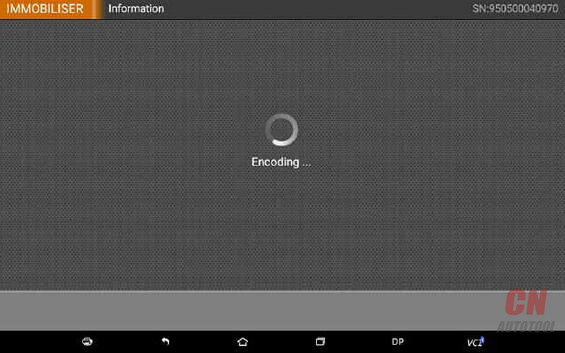
Put FEM/BDC module back to car or connect with test cable, Key Master DP connect car or OBDII for test cable. Enter the menu “key programming preprocessing”, choose “step 7: code data recovery”.
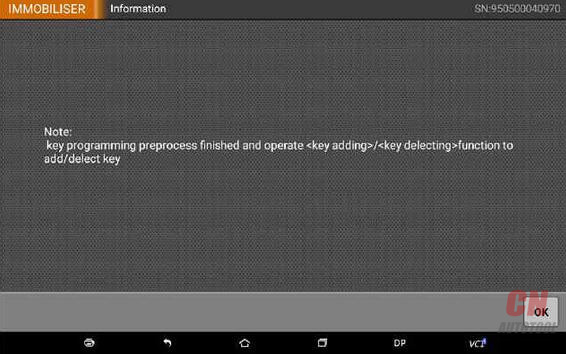
Coding succeeded. Key add pre operation completed. Click “ok” and exit the key add pre.
3.Key Add
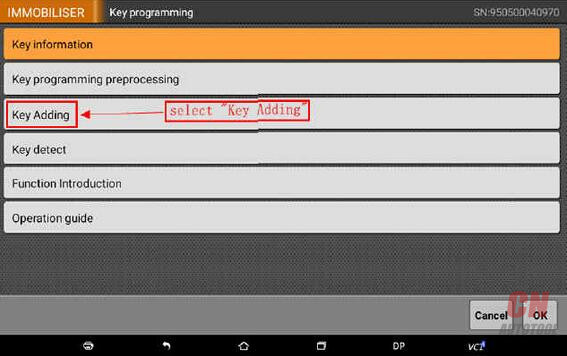
After the key add pre process, please connect car to do key add and key delete. Put the FEM/BDC modules back into car, then connect Key Master DP with the car OBD. Enter the menu, choose “key add”.
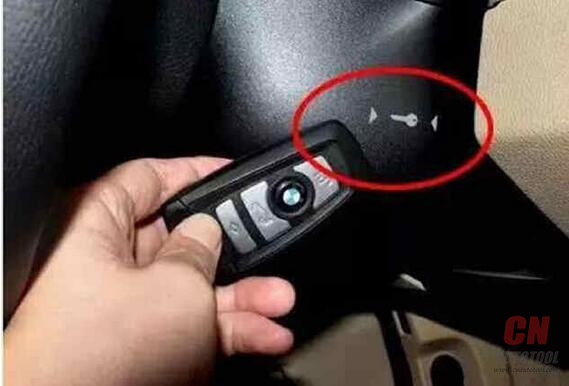
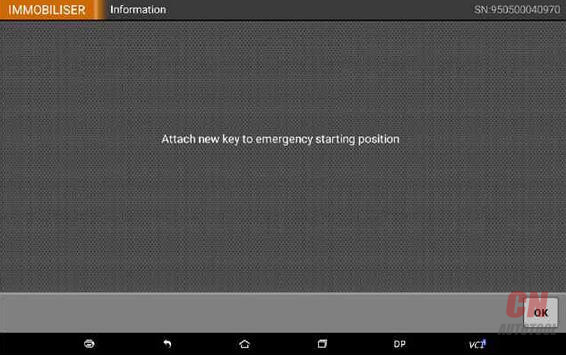
Then, put the key on the emergency starting position and click “ok”. Emergency starting position is on the right side of the steering column shell, a place with key sign as below:
Attach the key to the key sign as below:
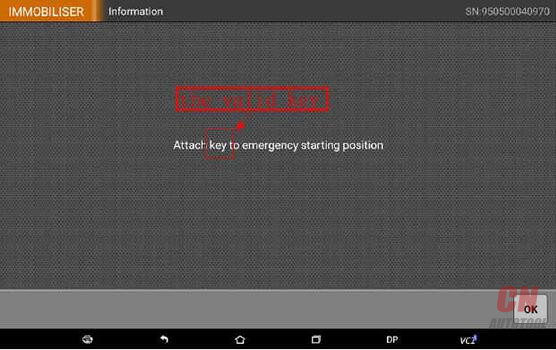
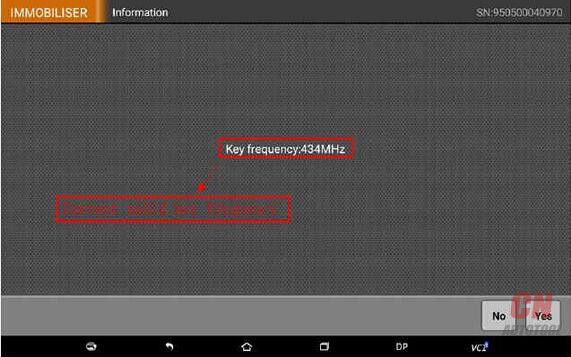
Key Master DP will recognize the valid key and show its frequency, click “Yes” to continue.
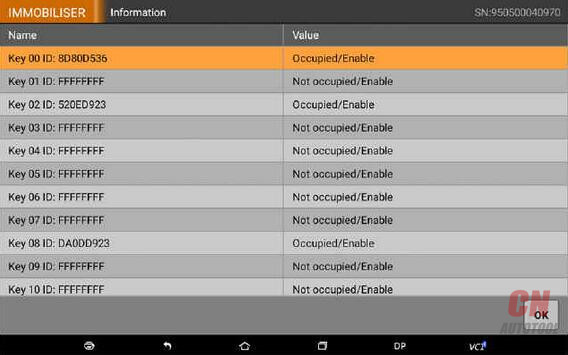
Then the device will show the car key quantity, position and ID, such as the two programmed keys 00 and 02. Now we can add one key at the position 01, or from 03 to 09. We choose the position 08 here.
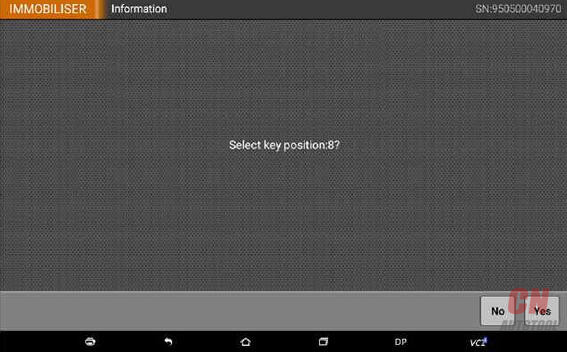
Put the key to be programmed on the emergency starting position, click “ok” to continue.
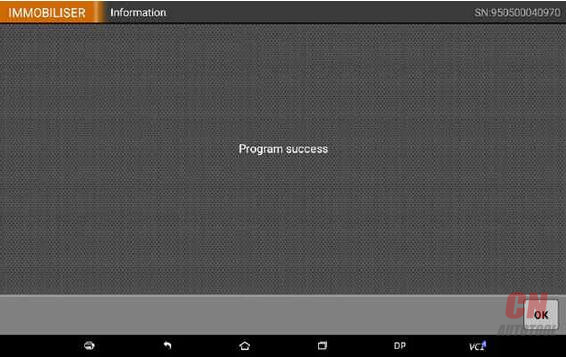
If the new key is recognized, the device will show “programming succeeded”, click “ok” to continue.
After key programming succeeded, the programmed key information will be read automatically. Key 08 is the new added key.
4.Key Delete
The operation for key delete is the same as key add. Enter key enable /disenable, read and remember the key ID. Then go to key add— key delete, choose the key to be deleted according to the prompt(the current key can not be deleted, no worried about deleting it by mistake).
