Here are the general steps to install the WABCO DIAGNOSTIC KIT software:
1. Obtain the software: Purchase the WABCO DIAGNOSTIC KIT software from a reputable vendor or directly from the WABCO website.

https://www.cnautotool.com/goods-4583-WABCO-DIAGNOSTIC-KIT.html
2. Prepare your computer: Check that your computer meets the software requirements. The software typically runs on Windows operating systems.
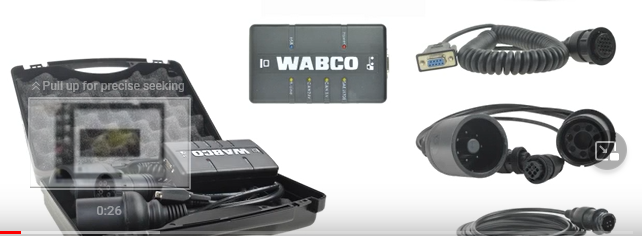
3. Connect the diagnostic kit: Connect the diagnostic kit to your computer using the USB cable provided.
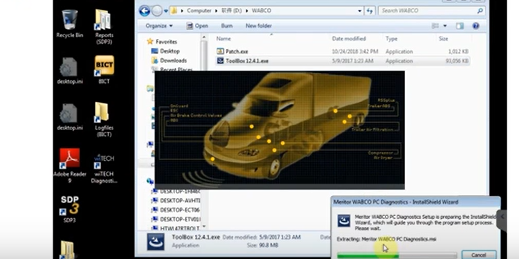
4. Install the software: Insert the software CD into your computer or download the software from the WABCO website. Follow the on-screen instructions to install the software. During the installation process, the software will automatically detect and install the necessary drivers for the diagnostic kit.
5. Launch the software: Once the software is installed, launch it from the desktop or start menu. The software will automatically detect the diagnostic kit and connect to the vehicle’s system.
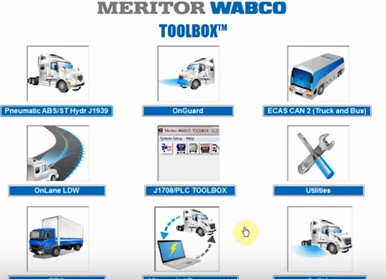
6. Perform system scan: Follow the steps outlined in the previous answer to perform a system scan and diagnose any issues with the air brake or suspension system.
It’s important to note that some versions of the WABCO DIAGNOSTIC KIT software may have slightly different installation procedures. Always refer to the user manual or documentation provided with the software for specific instructions.